

Rocker panel replacement is a key step in vehicle body restoration, addressing cosmetic and structural issues caused by road debris, rust, and time. Skilled technicians at auto repair shops use modern techniques like structural adhesive bonding for lasting results. Choosing the right adhesive—with high strength, flexibility, and resistance to environmental factors—is crucial for seamless integration with existing surfaces and new panel materials (metal, plastic, composite). This guide outlines a detailed process: workspace preparation, old panel removal, mixing and applying adhesives, inserting new panels, and securing them with clamps until cure time.
“Looking to refresh your vehicle’s exterior? Rocker panel replacement is a key step in enhancing both aesthetics and structural integrity. This article guides you through the process, focusing on the fundamentals of rocker panel replacement and the strategic use of structural adhesives.
Learn how to select the ideal adhesive for optimal bonding, ensuring a robust and long-lasting repair. By following our simple step-by-step guide, you’ll master the art of rocker panel replacement, revitalizing your vehicle’s look and performance.”
- Understanding Rocker Panel Replacement: The Basics
- Choosing the Right Structural Adhesive for Bonding
- Step-by-Step Guide to Effective Rocker Panel Replacement and Adhesive Bonding
Understanding Rocker Panel Replacement: The Basics
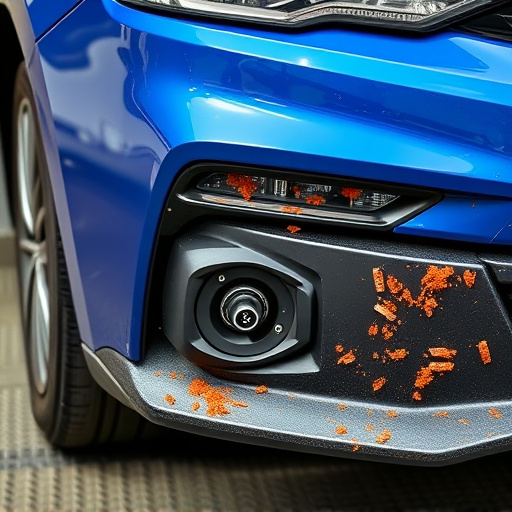
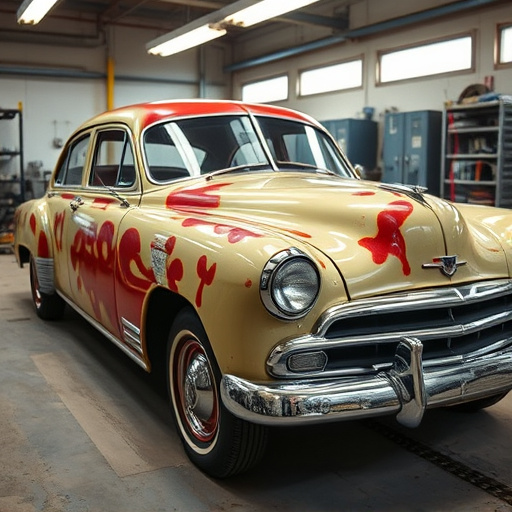
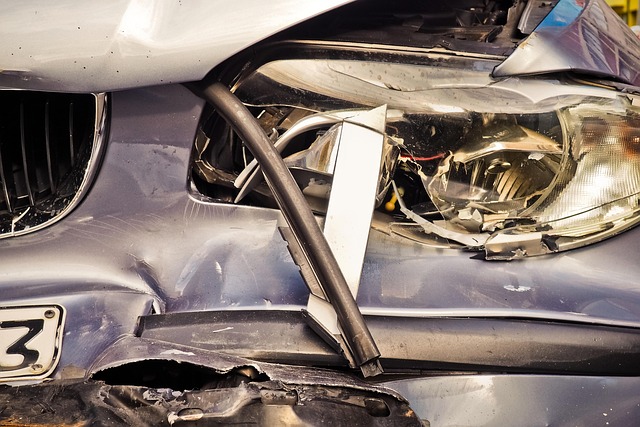
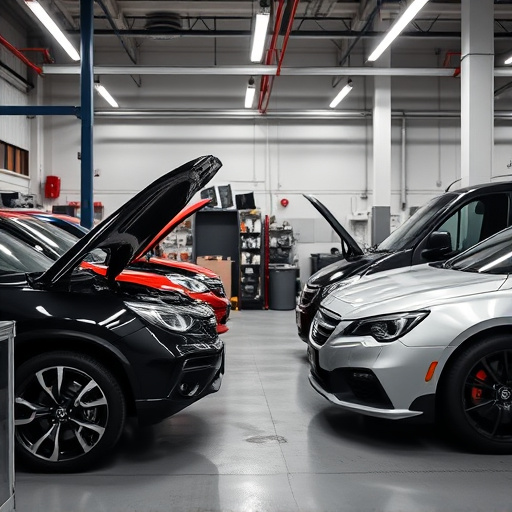
Rocker panel replacement is a crucial aspect of vehicle body repair, especially for those looking to restore their car’s aesthetic appeal and structural integrity. These panels, located on either side of the vehicle’s door, serve both functional and cosmetic purposes. Over time, due to various factors like road debris impact or rust, these panels can become damaged, leading to unsightly dents, cracks, or complete detachment from the body.
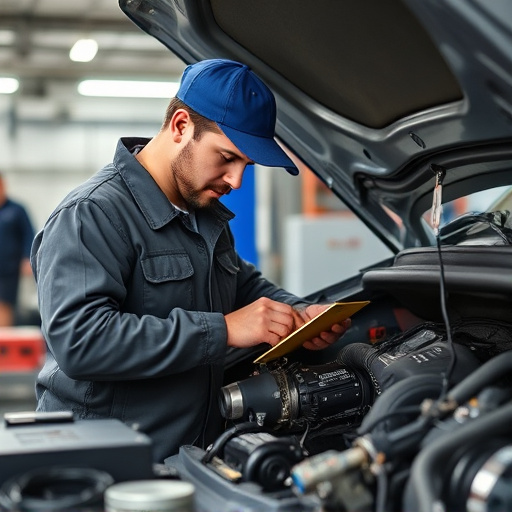
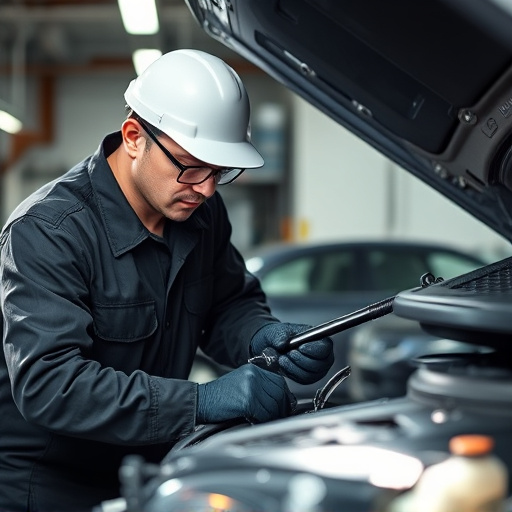
When considering rocker panel replacement at an auto repair shop, it’s essential to understand that this process involves more than just swapping out a broken panel. It requires skilled technicians who can assess the extent of damage and ensure proper alignment during installation. Modern body shop services often employ structural adhesive bonding techniques to secure the new panels, offering a durable solution that enhances the overall vehicle body repair.
Choosing the Right Structural Adhesive for Bonding

When undertaking a rocker panel replacement, selecting the appropriate structural adhesive is paramount to ensure a robust and long-lasting bond. The right adhesive must possess exceptional strength, flexibility, and resistance to environmental factors like sunlight exposure and varying temperatures. In addition, it should be compatible with both the existing vehicle surface and the new rocker panel material for seamless integration.
Considerations such as the type of materials being bonded (metal, plastic, or composite), the specific application requirements (interior versus exterior), and the desired bond strength guide the choice. Reputable collision repair centers often recommend structural adhesives designed specifically for automotive applications, ensuring optimal performance during vehicle restoration projects.
Step-by-Step Guide to Effective Rocker Panel Replacement and Adhesive Bonding
Step-by-Step Guide to Effective Rocker Panel Replacement and Adhesive Bonding
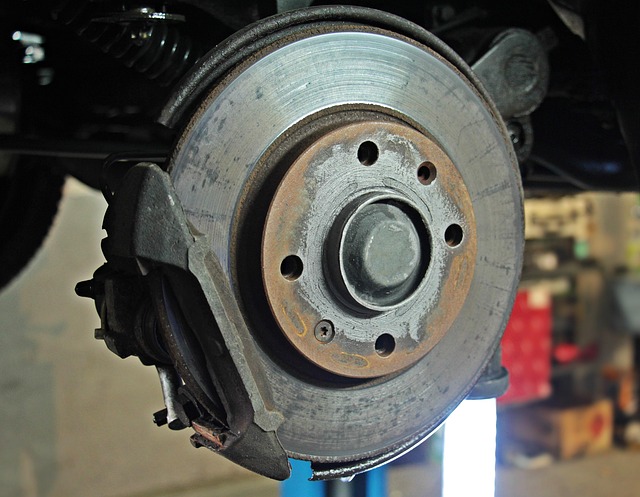
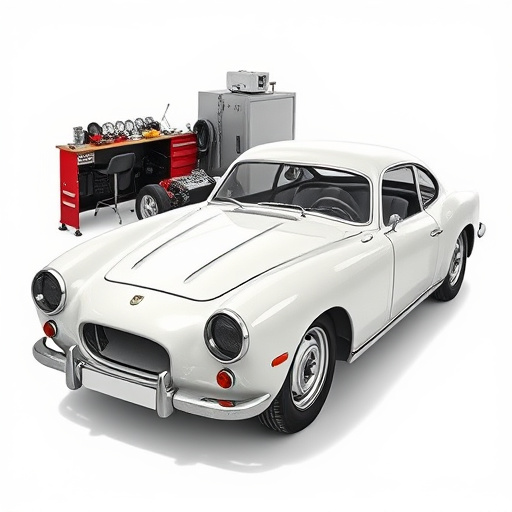
1. Preparation: Begin by thoroughly inspecting your vehicle’s rocker panels for any signs of damage, such as dents, cracks, or corrosion. Remove any loose debris or contaminants from the area using a pressure washer or degreaser. Ensure proper ventilation during this process to avoid inhalation of harmful chemicals.
2. Remove the Old Panel: Next, carefully remove the damaged rocker panel using suitable tools like jack stands and a pry bar. Take note of any retaining clips or bolts that secure the panel in place. Once removed, clean the underlying surface again to ensure a solid bond with the new panel.
3. Prepare the Adhesive: Choose a high-quality structural adhesive designed specifically for auto body applications. Follow the manufacturer’s instructions for mixing and preparing the adhesive. This step is crucial for achieving a strong bond between the new panel and your vehicle’s chassis.
4. Apply Adhesive and Insert Panel: Evenly apply a thin layer of adhesive to the prepared surface on both the rocker panel and the car body where it will be attached. Insert the new, clean panel into place, ensuring it aligns perfectly with the surrounding panels. Press firmly for several seconds to create a secure initial bond.
5. Secure with Clamps: Use clamping devices recommended by the adhesive manufacturer to hold the panel in place while the adhesive sets. This prevents any movement or shifting that could compromise the bond. Allow the adhesive to cure as per the manufacturer’s instructions, typically between 24-48 hours.
Rocker panel replacement is a crucial aspect of automotive maintenance, enhancing both vehicle aesthetics and structural integrity. By understanding the basics and selecting the right structural adhesive, you can effectively bond new panels, ensuring a durable and seamless fit. Following the step-by-step guide guarantees a successful repair, preserving your car’s beauty and safety for years to come. For any enthusiast tackling this task, mastering rocker panel replacement is an invaluable skill.