


Before replacing a rocker panel, assess damage, gather tools (including jack and gear), and plan for complex repairs. Securely lift the car, remove the old panel, install new hardware with caulk for gaps, ensuring structural integrity and an aesthetically pleasing finish for fleet or restoration projects.
“Looking to revamp your vehicle’s exterior? This comprehensive guide will walk you through the step-by-step process of a rocker panel replacement, a popular modification for those seeking to enhance their car or truck’s aesthetics. From assessing the damaged rocker panel and gathering essential tools, to removing the old panel and installing a replacement with expert touches, this article is your go-to reference for a successful DIY transformation. Discover how to achieve a flawless finish and elevate your vehicle’s style with this easy-to-follow rocker panel replacement tutorial.”
- Assess Damaged Rocker Panel and Gather Tools
- Remove Old Panel: Step-by-Step Process
- Install Replacement Panel and Final Touches
Assess Damaged Rocker Panel and Gather Tools

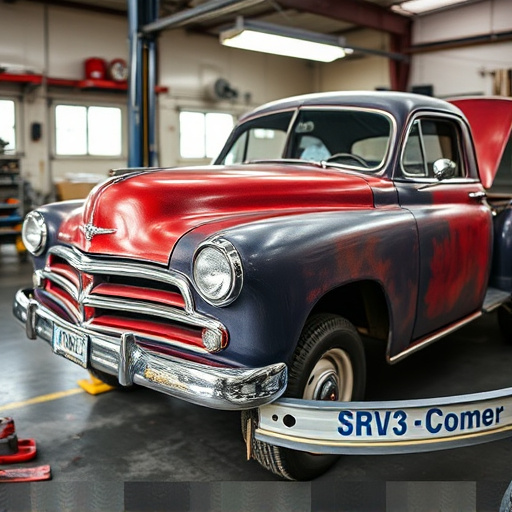
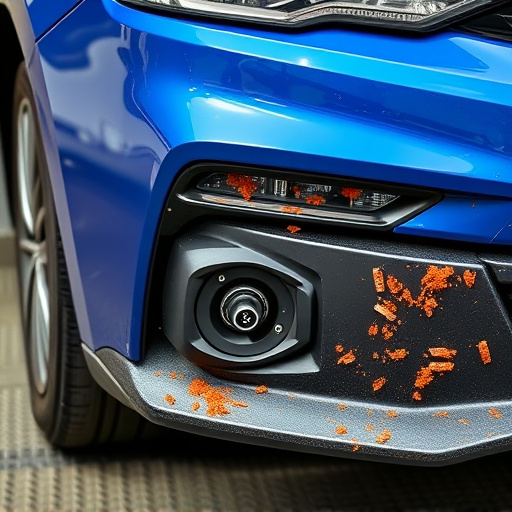
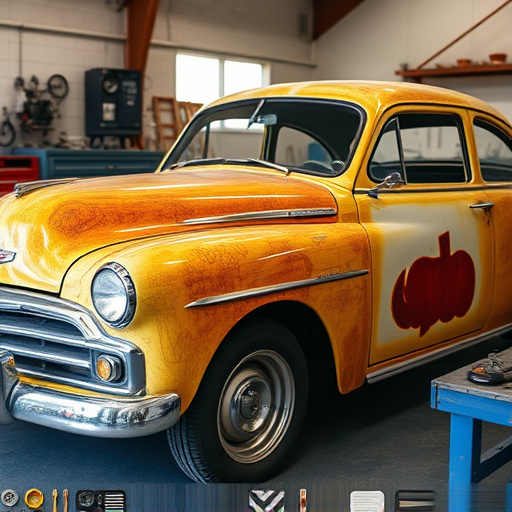
Before diving into the rocker panel replacement process, it’s crucial to assess the extent of the damage and gather all necessary tools for a successful car restoration. Start by examining the damaged rocker panel closely. Note any cracks, dents, or holes that need to be addressed. This step is vital as it determines the extent of your fender repair efforts.
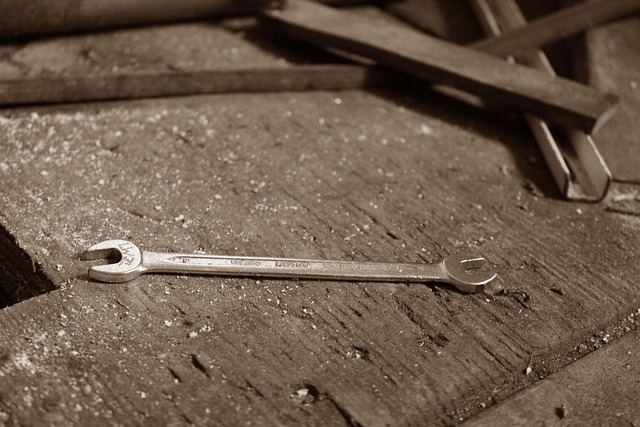
Gather a set of basic tools including wrenches, screwdrivers, a hammer, and a putty knife. For more complex repairs, you might require specialized equipment. Consider seeking assistance from professional car repair services if the damage appears extensive. Remember, proper assessment and gathering the right tools are fundamental steps in ensuring a seamless rocker panel replacement process.
Remove Old Panel: Step-by-Step Process
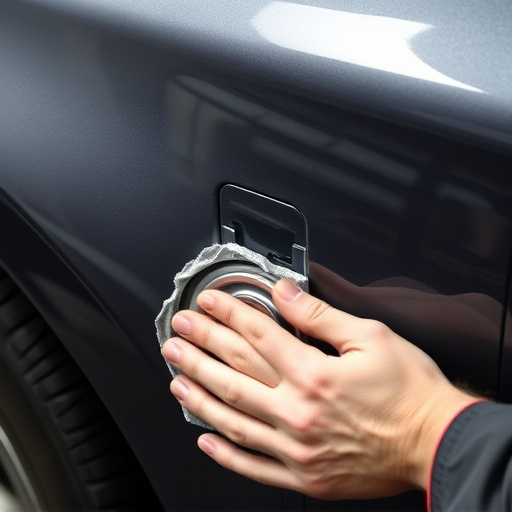
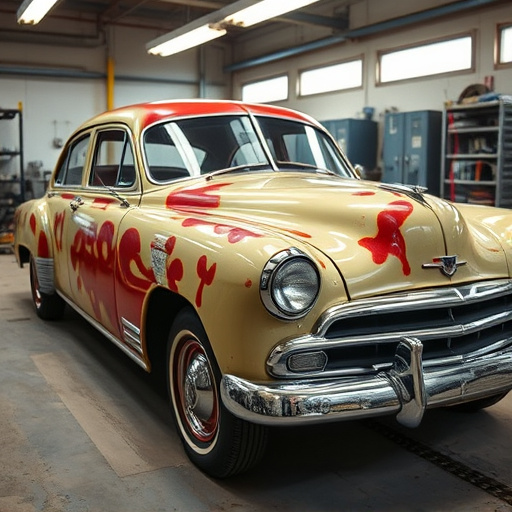
To begin the rocker panel replacement process, safety should be your top priority. Start by ensuring the vehicle is securely parked on a level surface with the parking brake engaged. Put on protective gear, including gloves and safety glasses, to shield yourself from any debris or sharp edges. Next, locate the rocker panel that needs replacement. This component runs along the side of your vehicle below the doors, connecting the body panels.
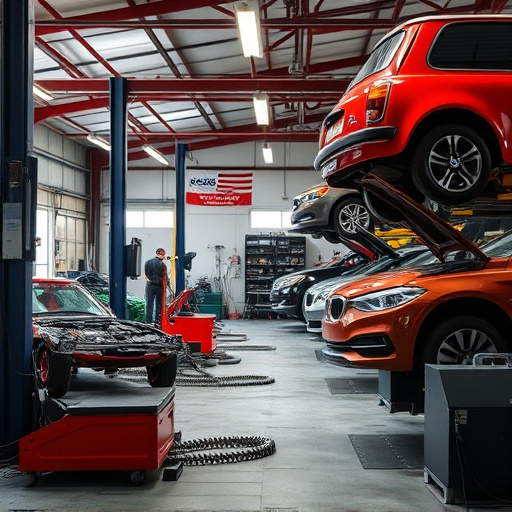
Using a jack and jack stands, safely raise the car and support it in a stable position. Then, carefully remove the old rocker panel by unbolting or unscrewing it from the underlying structure. Depending on your vehicle model, this might involve removing trim pieces, fenders, or other components to access the fasteners. Once the old panel is freed, set it aside for proper disposal or recycling. This step requires careful precision and a keen eye for detail to ensure a seamless rocker panel replacement, ultimately enhancing your car repair shop’s auto body repairs capabilities or those of a collision center.
Install Replacement Panel and Final Touches
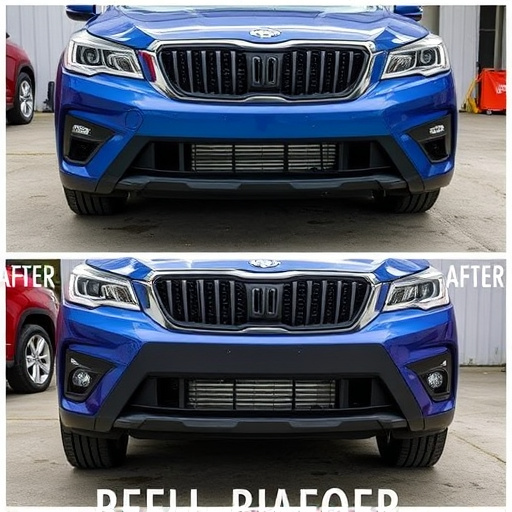
With the new rocker panel securely in place, it’s time to move on to the final touches of your rocker panel replacement process. Begin by ensuring all hardware is tight and properly fastened, using the correct tools and torques specified by the manufacturer. This step is crucial for both aesthetics and structural integrity, especially in fleet repair services or car restoration projects where each component plays a vital role in overall vehicle performance and safety.
Next, check for any gaps or misalignments along the panel’s edges. If present, use a suitable sealer or caulk to fill these gaps, ensuring a seamless finish that complements the rest of your car’s body repair. Once dry, inspect the panel again to confirm it meets your expectations and is ready for the final polish. This meticulous attention to detail ensures not only a visually appealing result but also enhances the longevity of your car’s exterior, making it stand out in any fleet or even as part of a captivating car restoration.
Replacing a rocker panel is a manageable DIY project that can significantly enhance your vehicle’s aesthetics. By carefully assessing the damaged area, gathering the necessary tools, and following a structured process, you can achieve a factory-like finish. This step-by-step guide provides a straightforward approach to rocker panel replacement, empowering car enthusiasts to take on this task with confidence. Whether for repair or customization, these steps ensure a successful transformation, allowing your vehicle to stand out in the crowd.